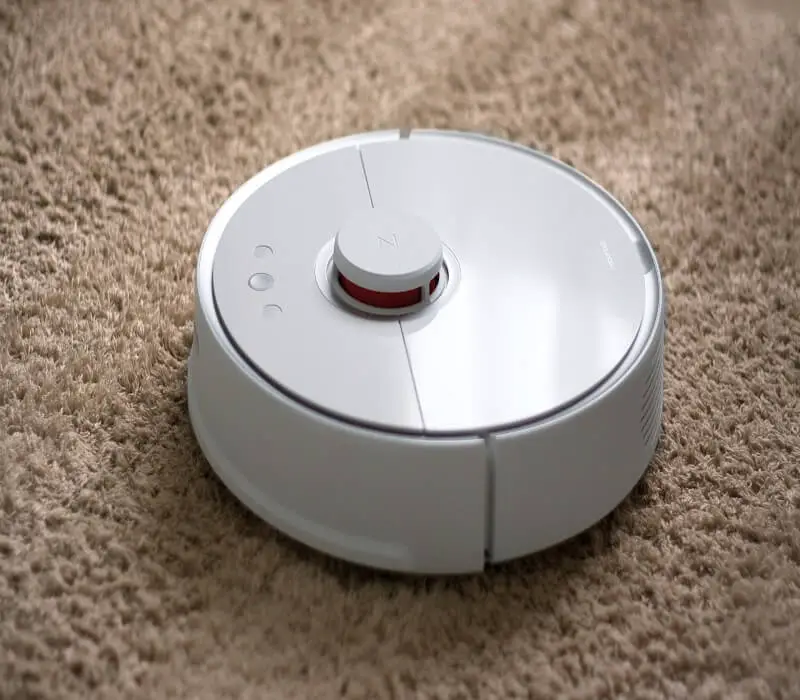
Roborock is a brand of robotic vacuum cleaners and mops. The company produces a range of robot vacuum cleaners and mops that use advanced navigation and mapping technologies to clean floors efficiently and effectively. The Roborock robot vacuum cleaners are equipped with multiple sensors that help them navigate around obstacles and map out the cleaning area to avoid missing any spots.
Table of Contents
How to clean roborock sensors
Cleaning the sensors on your Roborock robot vacuum cleaner is an important maintenance task that should be performed regularly to ensure optimal performance. Here are some general steps you can follow to clean the sensors on your Roborock:
- Turn off the robot and unplug it from the power source to prevent any accidents.
- Locate the sensors on the robot. Depending on the model, the sensors may be located on the front, sides, or top of the robot.
- Use a soft, dry cloth or a brush to gently remove any dust or debris from the sensors. Be careful not to scratch or damage the sensors.
- If there are any stubborn dirt or debris on the sensors, you can use a cotton swab or a small brush to gently remove them.
- If necessary, you can use a small amount of rubbing alcohol to clean the sensors. Dampen a cotton swab or a soft cloth with the rubbing alcohol and gently wipe the sensors.
- Allow the sensors to dry completely before turning the robot back on and resuming cleaning.
It is important to note that the specific cleaning instructions may vary depending on the model of your Roborock robot vacuum cleaner. You should consult the user manual or manufacturer’s instructions for more detailed cleaning instructions for your specific model.
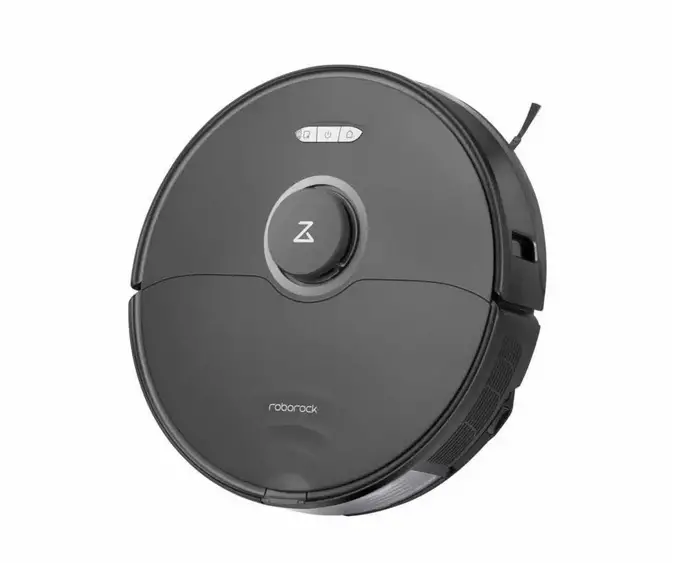
Location of the Roborock’s sensors
The location of these sensors may vary depending on the model, but here are some common locations:
- Laser Distance Sensor (LDS): This sensor is usually located on top of the robot, near the front. It scans the surrounding area and creates a map of your home to help the robot navigate.
- Cliff sensors: These sensors are located on the underside of the robot. They help the robot detect stairs, ledges, and other drops to prevent it from falling off.
- Bumper sensors: These sensors are located around the robot’s body, usually near the front. They detect obstacles and help the robot avoid collisions.
- Wall sensors: Some Roborock models have wall sensors that help the robot clean along walls and edges without bumping into them.
- Infrared sensors: These sensors are used for detecting dirt and debris on the floor. They are usually located on the underside of the robot.
Overall, the sensors are strategically placed on the robot to help it navigate, detect obstacles, and clean your home effectively.How to clean Roborock dust bin and filter
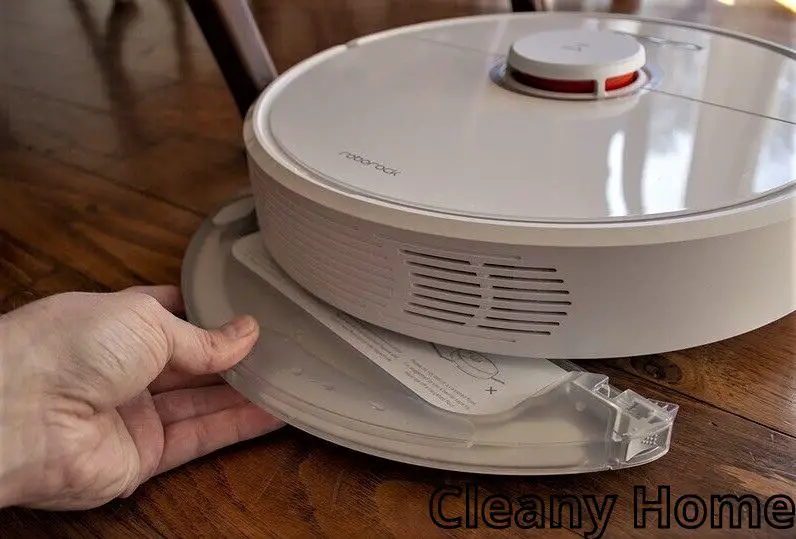
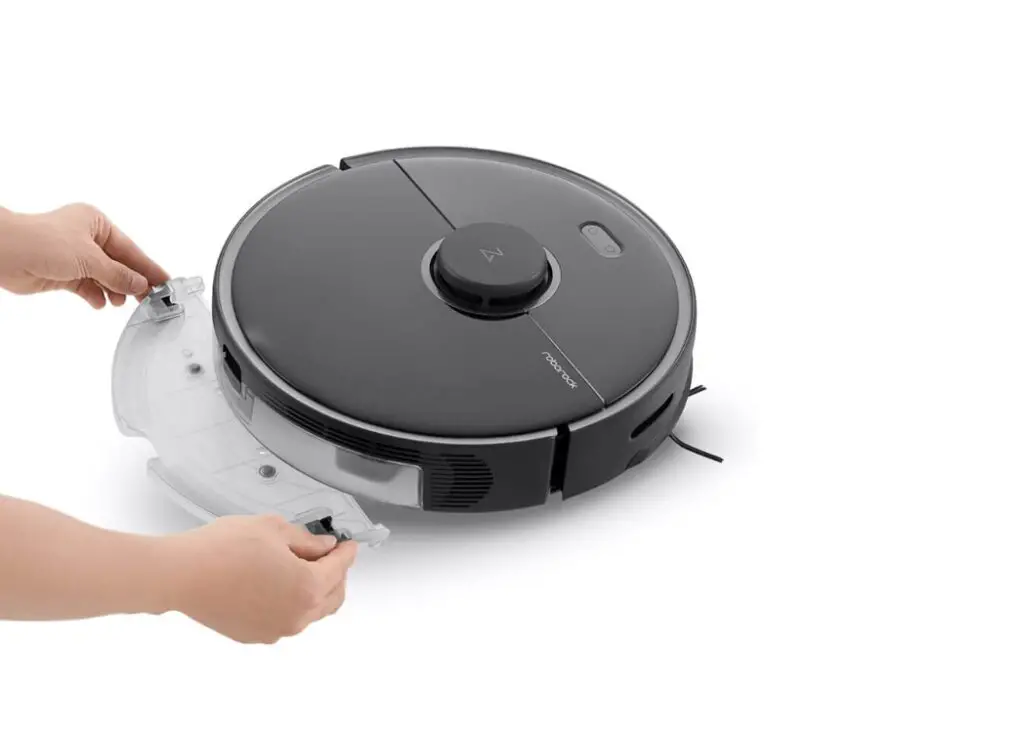
How to clean Roborock dust bin and filter
Cleaning the dust bin and filter of your Roborock vacuum is an essential part of regular maintenance. Here are the steps to clean the dust bin and filter:
- Turn off your Roborock vacuum and unplug it from the power source.
- Locate the dust bin on the underside of the robot.
- Press the button on the top of the dustbin to release it from the vacuum.
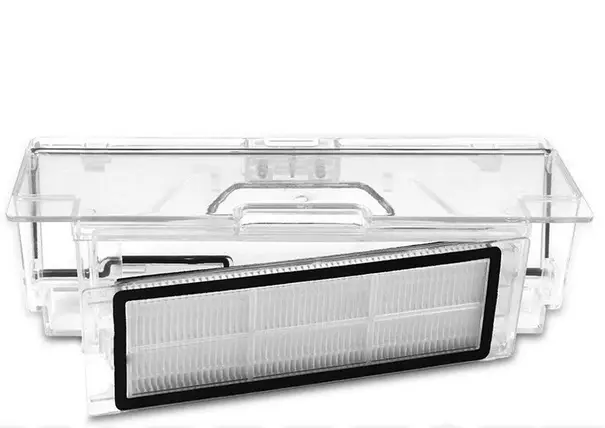
- Open the dustbin cover and remove the filter from the dustbin.
- Tap the filter against a trash can to remove loose debris.
- Rinse the filter with water, gently squeezing it to remove any dirt.
- Allow the filter to air dry completely before reinstalling it.
- Use a soft-bristled brush or a cloth to remove any debris from the dustbin.
- Rinse the dustbin with water, and then wipe it clean with a dry cloth.
- Reattach the filter to the dustbin and then reinstall the dustbin onto the robot.
- Turn on your Roborock vacuum and resume cleaning.
It is recommended that you clean the dustbin and filter after every use to maintain the best possible cleaning performance.
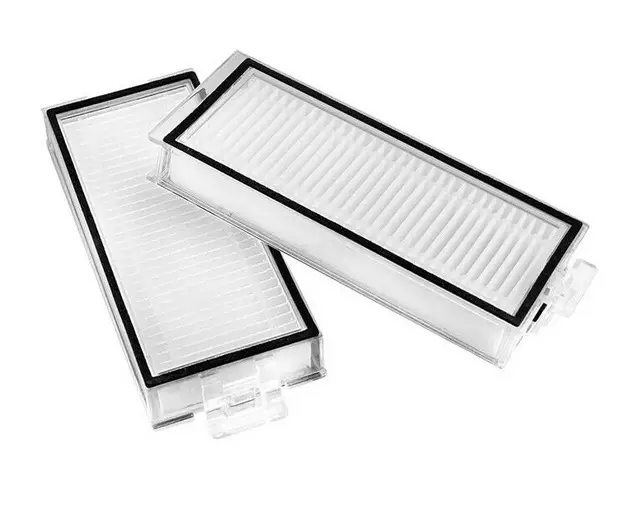
How often should I clean Roborock’s filter?
The frequency with which you should clean the filter depends on how often you use your robot vacuum, the type of flooring in your home, and the level of dust and debris in the air.
As a general rule of thumb, it is recommended to clean the filter at least once a week. If you have pets or live in an area with high levels of air pollution or dust, you may need to clean the filter more frequently, such as every 2-3 days. On the other hand, if you use your robot vacuum infrequently or have relatively clean indoor air, you may be able to get away with cleaning the filter every 2-4 weeks.
To clean the filter, remove it from the robot vacuum and tap it gently against a hard surface to dislodge any loose dust and debris. Then, rinse the filter under cold water and allow it to air dry completely before reinstalling it in the vacuum. It’s important to avoid using hot water or cleaning agents to clean the filter, as this can damage its effectiveness.
In addition to regular cleaning, you should also replace the filter periodically, as recommended by the manufacturer. Most Roborock filters are designed to last several months, depending on usage, but it’s a good idea to check the condition of the filter periodically and replace it if it appears worn or clogged. By maintaining a clean filter, you can help ensure that your Roborock robot vacuum continues to provide efficient and effective cleaning for years to come.
How often should I replace Roborock’s filter?
The frequency with which you should change the filter on your Roborock vacuum cleaner will depend on a number of factors, including the frequency of use and the amount of dirt and debris in your home.
As a general rule, it is recommended to change the filter every three to six months. However, if you have pets, suffer from allergies or live in a dusty environment, you may need to change the filter more frequently, such as every two to three months.
Additionally, you should inspect the filter periodically for signs of wear and tear or damage, and replace it immediately if you notice any issues. Proper maintenance of the filter will help ensure that your Roborock vacuum cleaner continues to operate at peak performance and efficiency.
How to clean Roborock brush ans wheel
Here are the steps to clean the brush and wheel of your Roborock:
- Turn off and unplug the vacuum cleaner.
- Flip the robot over to access the brush and wheel.
- Use a brush or dry cloth to remove any hair, dust, or debris that has accumulated on the brush and wheel. You can also use a pair of scissors to cut and remove any tangled hair or fibers that are stuck on the brush.
- Check for any damages or signs of wear and tear on the brush and wheel. If you notice any damages or excessive wear, replace the brush or wheel as needed.
- If the brush and wheel are particularly dirty or greasy, you can use a damp cloth to wipe them down. Avoid using water or any cleaning solutions that could damage the brush or wheel.
- Once you have finished cleaning the brush and wheel, reattach them to the vacuum cleaner and turn it back on.
How to clean Roborock mop pads
To clean the mop pad on your Roborock vacuum, please follow these steps:
- Remove the mop pad from the underside of the water tank by pulling it away from the tank.
- Rinse the mop pad under running water to remove any loose dirt or debris. For tougher stains, you can also use a mild detergent.
- Squeeze out the excess water from the mop pad, making sure not to wring it too hard to avoid damaging the fibers.
- Hang the mop pad to air dry completely before using it again.
If your mop pad is heavily soiled or stained, you may need to replace it with a new one. Replacement mop pads can typically be purchased online or from the manufacturer directly.
Additionally, it’s important to regularly clean the water tank as well to prevent the buildup of bacteria and mold. To clean the water tank, simply remove it from the robot vacuum cleaner and rinse it out with warm soapy water. Let it air dry completely before reattaching it to the vacuum cleaner.
Conclusion
Cleaning the Roborock sensors, filter, mop, and brush can be a bit challenging, but it is not necessarily hard. With some patience and the right tools, you can easily clean these parts of the robot vacuum.
It is important to clean the sensors, filter, mop, and brush of a Roborock robot vacuum regularly. Regular cleaning will help maintain the performance and efficiency of the robot and extend its lifespan. This rule applies to both Roborock and Roborock S7 alternatives.
The sensors on the Roborock vacuum are responsible for detecting obstacles and mapping out the cleaning path. If they are dirty, the robot may not be able to navigate properly, leading to incomplete cleaning or even collisions with furniture.
The filter on the Roborock vacuum helps to trap dust and allergens. If it becomes clogged with debris, it will reduce the suction power of the robot, which will result in less efficient cleaning.
The mop and brush on the Roborock vacuum also require regular cleaning to maintain their effectiveness. The mop can become saturated with dirt and debris, making it less effective at cleaning floors. The brush can become tangled with hair and fibers, which can reduce its ability to pick up dirt and debris.
To ensure that your Roborock robot vacuum operates at its best, it’s recommended to clean the sensors, filter, mop, and brush after each use or at least once a week, depending on usage. Follow the manufacturer’s instructions on how to clean these components properly.
Why does Roborock keep telling me to clean sensors?
Roborock may be telling you to clean its sensors because they may be dirty or obstructed by dust, hair, or debris, which can affect its performance and accuracy. By cleaning the sensors, you can help ensure that your Roborock can navigate and clean your home more efficiently.
How do you clean the sensor on a robot vacuum?
To clean the sensor on a robot vacuum, use a soft, dry cloth to gently wipe the sensor’s surface. Avoid using water or cleaning solutions as they can damage the sensor.
Where are the sensors of Roborock?
The Roborock robot vacuum cleaners have sensors located in different parts of the device, including on the top, bottom, sides, and front. These sensors are used to detect obstacles, stairs, and other objects in the vacuum’s path and help it navigate around them.
Why is my Roborock not cleaning properly?
Your Roborock robot vacuum may not be cleaning properly due to dirty/clogged filters, worn/damaged brushes, obstacles in its path, low battery level, or incorrect cleaning mode settings.
Should I clean my sensor myself?
Yes, you can clean the sensor on your robot vacuum yourself as it is a part of routine maintenance. However, you should be careful not to damage the sensor or any other parts while cleaning. Always follow the manufacturer’s instructions and use a soft, dry cloth to gently wipe the sensor’s surface.
How often should you get your sensor cleaned?
The frequency of cleaning the sensor on a robot vacuum depends on several factors such as usage frequency, environment, and the manufacturer’s recommendations. In general, it’s a good idea to clean the sensor once a week or more often if you use your robot vacuum frequently or in dusty environments.
We're an affiliate
We hope you love the products we recommend! Just so you know, CleanyHome.com is a participant in the Amazon Services LLC Associates Program, an affiliate advertising program designed to provide a means for sites to earn advertising fees by linking to Amazon.com.